Wednesday, 11 June 2014

Horsing Around

Hello

Thought that I would show you why I am not getting as much quilting or gardening done as I should.

Meet my equine friends.

This is Jester, who I ride twice a week.  He is 14 years old and great fun to ride.  Definitely the boss of the other two and me if he can get away with it!  We have come to an understanding, I let him canter if he behaves himself.


Gloria, a 32 year old mare who in her day used to win rosettes when she was a show horse.  She is retired now and enjoys being out with her boyfriend Jester.  She is a tall horse who towers above me, a bit wild when running free but once put on a halter is as gentle as a lamb.


Finally, sweet little Lily who is cheeky thing.  I love her dearly, she's such fun.  She is still quite young but is so quick to learn.  She went for a walk with me down the lane today, she is good in traffic but the scary monsters in the hedge that I can't see but she can, make her spook a bit.  She will calm down the more I take her out.


I started riding again last September after over 10 years, at first it was a bit nerve racking as Jester was full of beans and I was very rusty but now I am back in the swing of things.  Its thrilling to ride a horse, I had forgotten the joy being around horses, nothing beats it.  They are my bolt hole when life is difficult.

Cheers
Sharon

Sunday, 8 June 2014

Quick Easy Makes - Zipped Pouch, Silica Gel Bags & Pin Cushions

Hello

Had a go at making a lined zipped pouch, the lovely Josie over at http://sewforsoul.blogspot.co.uk/2014/05/fresh-as-daisy-embroidered-bag.html  kindly did a tutorial for one.  I used Laura Ashley fabric so it matches the sewing machine cover. Didn't do the applique on it as I was sewing instead of gardening and needed something quick as the grass needed cutting.

The outside fabric was quite a stiff fabric so I missed out the interfacing bit of the tutorial.  Only had one zip to choose from in my notions box so had to use that, it would have been better to use a different colour.


Going to use it to store fabric marker pens and my glue pens.


Made a couple of pretty hanging pouches which I have filled with Silica Gel. These are to go into my Singer Feather weight case and the Singer 201 case.  Silica Gel absorbs any moisture in the air, the Featherweight box gets a bit mouldy, its been like that since I bought it.  It needs to get out into the hot sun for a few days but our British summer is not playing ball.  The UV light kills the mouldy stuff (can't remember the proper technical terms).  NOTE:  When leaving your featherweight case outside to sunbathe, you must support the lid in case it falls over and smashes the locks which are impossible to replace.


I've hung the bag on the oil can clip in the Singer 201 case, this doesn't have any signs of mould but I thought it wouldn't harm having a silica bag in there as well, just in case.  I think the mould problem is mainly a Featherweight case problem.


Finally, a couple of super quick pin cushions, the large one is for a present.  I like the shape of these.  Was watching Create and Craft while having my breakfast and saw Debbie Shore making one.


It's been so nice to actually make something instead of fixing old Singers.

Cheers
Sharon


Monday, 2 June 2014

Restored Singer 128 Sewing Machine

Hello

Just realised that I haven't shown you the finished Singer 128.

Here she is, now in full working order.  Does a reasonable stitch with smooth hand crank.


Not sure if I will actually sew with this one but she is interesting.  She took a lot of time to clean up, the paintwork (Shellac) is in poor condition, the decals are in reasonable condition for the age (1933).  The case came up well, haven't got a key for it yet but hopefully soon.


Most of her attachments are there but there is a bit missing from the tuckmarker.  The Ruffler works well.


This is my last restoration as I have all the machines I need and have no room to store anymore.  I only bought this machine cos I was curious how the vibrating shuttle machine worked.  My grannie was a tailoress and had one of these machines that she used to lug on the bus to take to peoples houses to make clothes out of curtains and any bit of fabric they had during the war years.  I only remember her as a frail old lady of 91 but she must had muscles like a bodybuilder to carry this around!  It weighs a ton.

Cheers
Sharon

Sunday, 1 June 2014

Singer Sewing Machine Tuckmarker (Simanco 25517)

Hello

My pal Sarah had a bag of Singer attachments which included this strange looking thing.


Had to work out what it was, its an early tuckmarker.  Sussed out how it went together but couldn't work out how to use it.


 Had a look on the net and found this link http://www.singersewinginfo.co.uk/simanco/25517/ there it was with instructions that it was for a 27 and 28 machines only, that it screwed to the bed of the machine and the needle went through the little hook on the long bar.

Easy peasy, DOH.  I had a bit of a senior moment and still couldn't work out how it went. Tried all sorts of things but then, when you know how, its obvious.

It fits with a thumbscrew through the flat bit, unfortunately I don't have a screw that fits my machine so to find out out how it works, I stuck it onto the machine with masking tape to give it a try.  Here it is with a thumbscrew just sitting in the hole so that you can see how it goes.


The fabric goes between the 2 flat bars of the tuckmaker then under the foot to sew the tuck.  There are 2 gauges on the tuckmarker that determines the width of the tuck and how far apart they are.

When sewing, the presser bar  of the machine with the needle through the loop on the arm of the tuckmarker pushes the arm down which then pushes the end of the tuckmarker with the  round marker into the fabric and makes a mark in the fabric to show where the next tuck should go.


Easy when you know how.  Thought that I would do a blog about it so that if someone is wanting to know how to use it, it won't take most of the day to find out!  I am so easily distracted, my sewing machine hobby is supposed to be a winter project for when I can't work but isn't working out like that!

The decoration on the tuckmarker screams out Art Nouveau so it will be from the late 1890s early 1900s.

Cheers
Sharon

Thursday, 22 May 2014

Singer 128K Restoration - Work in Progress

Hello

If you have been reading my blog, you will know that I made a rash purchase of two hand crank sewing machines, Singer 127K (already with its new owner after being sold on Ebay) and a Singer 128K which needed a more time consuming restoration.

Here she is before I started to clean her.


She had a yellow/brown tinge to her which I think was nicotine film.  The recommendation for cleaning Singer paintwork is to use Singer oil but that didn't touch anything,  I reckoned that seeing it was only £10 it would be OK to use something a bit stronger and tried paraffin (Kerosene in USA), again this didn't get the yellow tinge off the decals so drastic action, used Mer car polish (which cleans as well as polishes) which took off a lot of muck judging by the colour of the cloth and the decals came up brighter gold instead of the brown/yellow film.    Then I read on the net that someone had cleaned their machine with Dr. Bronner Castile soap so got some, put a few drops in warm water and tested it out on the machine with a soft cloth, it brought another load of dirt off and the decals were brighter again, I dried each section as it was cleaned.

I must point out that the paintwork on this machine was in poor quality, the shellac varnish had started to break down before I did anything to it, I don't recommend that anyone uses the same on their machines.  I was very gentle when cleaning the decals, and was prepared to stop if they started to flake off.

Everything on this machine was caked in dried oil, it was amazing that it still worked.  Started to scrub the mechanics in paraffin which did the trick.  Also used penetrating oil on the seized stitch length knob, bobbin winder, needle bar adjuster and to be honest almost every moving part underneath.  Used a craft knife to carefully scrape the congealed oil off which was very time consuming, then scrubbed with an old toothbrush dipped in paraffin.

Bits kept falling off, alright, I kept having to take bits off to get at them to clean, was hoping that I wouldn't have to do this but it was so hacky (yorkshire saying for really dirty).


You can see the damage to the shellac on the machine bed, there is nothing that can be done with this to make it better.


This is half way through cleaning the needlebar and foot bar with paraffin using a toothbrush making sure that the base was covered with a cloth to catch the drips.  I had to remove the tension assembly to give the disks a good clean which was scary putting it back together.


The back slide over the shuttle is stuck solid, not really sure how I am going to get this moving again so have put penetrating oil on it and will leave it for a week to see if that does the trick.  The needlebar thumb screw on the top which adjusts the pressure of the foot is totally stuck so again penetrating oil and leave it.

The oak base and benwood case were cleaned with wire wool dipped in Briwax which got most of the dirt off.  The domed case came up well, going to give it a few coats in Briwax so that it has a good shine.

This machine will never be pristine but hopefully will be able to sew with it again.  Its been a great learning curve, had to keep telling myself if it all went wrong, the machine could be broken up and sold as parts.

Will let you know how I get on.

Regards
Sharon


Tuesday, 13 May 2014

Victorian Work Table - Auction Buy

Hello

Well, I have been at it again!  Buying at local auction on the internet without checking the item out first.

Spotted this and thought that I couldn't afford it but when it didn't sell and was put in the next auction,  I  left an absentee bid.


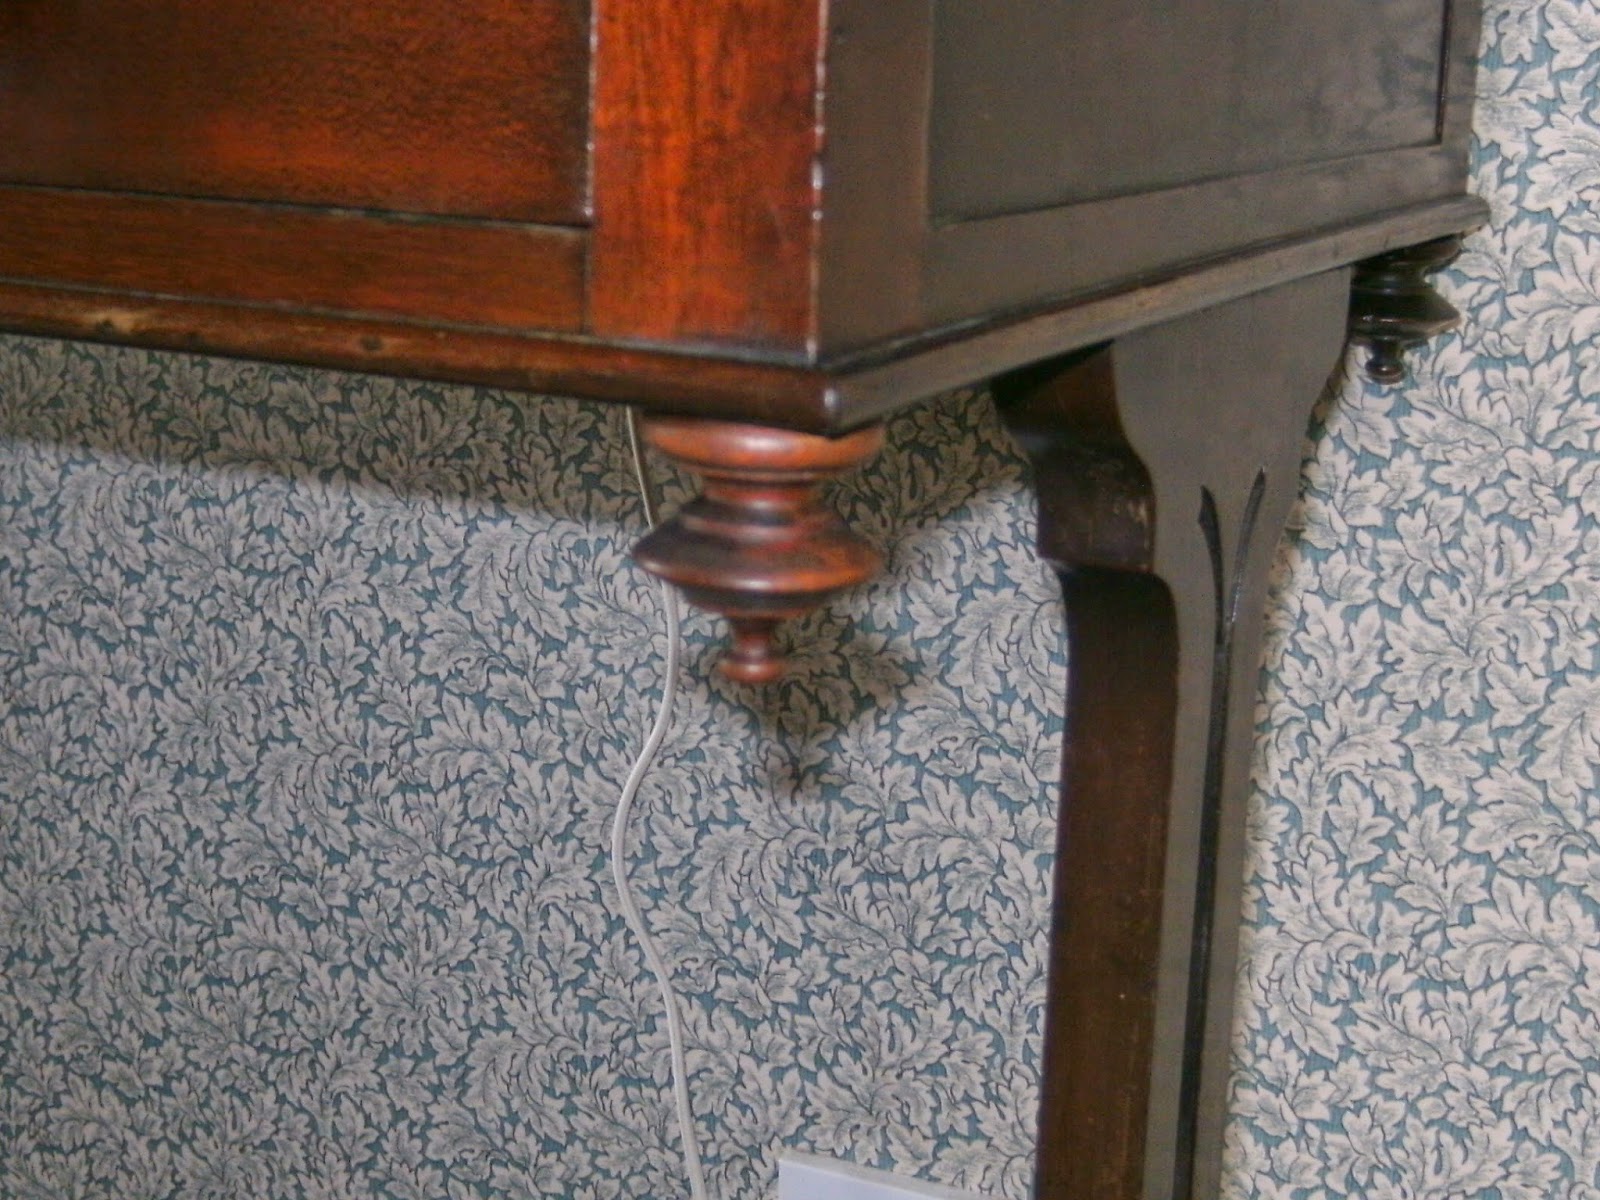
I won the bid and went to collect it but when I got there, it was very wobbly one of the supporting legs had pulled away from the bottom of the drawer runner.   Initially, I was going to use it to display one of my Singer machines but if anything had been put on it, it would have collapsed sideways.  The top was badly marked with water, there was a burn mark on it and a couple of scuffs which had taken all the finish off it. One of the decorative finials was missing along with the original sewing basket that hung below the drawer.

 On the plus side, it was solid mahogany, with dear little knobs on the drawer and underneath the legs still had the original brass castors.   As usual, I forgot to take a photo of all the damage close up.  I was a bit disappointed and thinking it was a dud but when I got my mahogany furniture touch up pen to fill in the light marks, then gave a really good polish with Briwax, began to quite like it again.  The damage to the joints were well beyond my very limited skills at furniture restoration so I took it to Randal at https://folksy.com/shops/theturnersinthechurch.  He was a star, while Julie his wife and I went to the Harrogate Flower Show, he took the joints apart and re-glued them, turned a matching finial to replace the missing one, fixed the loose knob on the fake drawer at the back.  He advised me not to use it for displaying my heavyweight machines as the joint has been repaired several times before including someone trying to fix it with hot glue.  Its going to go in the entrance hall where it will look very pretty and sweet.

So what I thought to be a dud turned out to be a little gem.  Not bad for £45 plus commission.


What a super job Randal made of the finial, he is so clever.


Its a Victorian Work Table around 1860ish (not quite sure), good quality mahogany with really fine dove tail joints in the drawer.  I don't have many true antiques so I will treasure this one.  Randal said that if I wanted to refinish the top with french polish, I should cover the top with methylated spirit and put a match to it, which sounds horrifying, apparently this takes the old finish off. Think that if I decide to get it re polished, I will leave it to the experts!

The oak hall chair was bought at an antique fair, I think its Victorian, the canework is in good condition and I made the cushion pad to fit.

Cheers
Sharon


Saturday, 10 May 2014

Cozy Cover for Singer 201K

Hello

Been busy playing with my new 201K, its really fast compared with the Featherweight.  Getting more used to the knee controller and quite like using it.

Made a cover for the 201 to protect it from the sun, don't want the paint to fade or the oak base so the cover fits over the machine and base.  Used vintage Laura Ashley curtain fabric which is a nice firm cotton, I put a white cotton lining in it and finished with pretty pink bias binding edge at the bottom. I wanted a snug fit on the base so had to play a around with my pattern to get it to fit.  Finished it off with vintage Mother of Pearl buttons and a dinky scissor label made from printed ribbon.


While I was on, made matching Sew Tidy (aka Thread Catcher), ironing pad and drawstring bag for the power cord.  I like things to match.


Cheers
Sharon