Saturday 24 June 2017

Silver Presentation Box Refurbishment

Hello

I had this boxed set of Silver Plated napkin rings made by Walker and Hall of Sheffield, I expect they are somewhere around 1910ish but that is a complete guess, they may be older. They are a family piece.  I use them at Christmas. The box was looking a bit tatty and as I had just refurbished a couple of Singer Featherweight Sewing machine boxes, had the idea of tidying this box up as well.

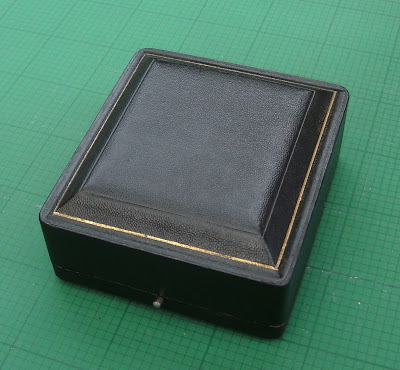
Here is the before


Used the same technique using a Sharpie black pen to colour in all the dings and scratches.  Looking better already.


Then two coats of black shoe polish being careful not to get it on the gold lines.  Drying and polishing each layer.

All done.


Cheers
Sharon

Saturday 10 June 2017

Singer 221 Service and Case Refurbishment

Hello

The lovely Sarah from Drawn Threads (DrawnThreads) was given a Singer 221k by a relative. She was so thrilled.  She brought it to her Needles and Pins Group on Tuesday so I offered to tidy the case up for her as I had just done mine.  So home it came with me.

The outside had the inevitable dings and scrapes of 60 years of use.


The inside was even worse.


Gave the outside a clean with a damp cloth making sure that I didn't get it too wet.  Ideally, I wanted to do the same with the inside but didn't want to introduce any moisture  inside the box as they tend to get mildew and this was already showing signs of having had it.  Stuck down a few bits of peeling edges using UHO glue.

After cleaning the outside and letting it bake dry in the conservatory, the sharpie black pen was used to colour in the scratches and marks.  Then two coats of black shoe polish gave its final finish.  I left each coat to dry before buffing.  The locks were cleaned with a wet cotton bud and Bar Keepers Friend.

The inside was hoovered out and then wiped with a clean dry cloth.  Then used one coat of shoe polish to tidy it up, again making sure it was fully dry before buffing.  Not perfect but loads better than it was.


I then turned my attention to the machine, giving it a service, clean and polish. The lower tension wasn't quite right so I reset that.  It needed a new belt which Sarah has ordered along with 4 new rubber feet.  Added a new spool pin felt.

As a surprise, I made a handy draw string bag to keep the dangling wire and plug in so the paintwork doesn't get scratched.


The flip up bed was catching on the foot screw so I used a little clear bumper stop stuck on the screw so it wouldn't chip the paintwork.

 Its hardly visible.

The machine came up quite well.


All tucked up safely.


Sarah had an original key so added a pretty fob for it.


She has been through the mill recently and works so hard with her business, she deserves a treat

Cheers
Sharon


Monday 5 June 2017

Rusty Singer 221 & 201 Bobbins - How to prevent & Fix them

Hello

Its raining, a legitimate day off work (no gardening in the rain).

So, sorting out a few rusty Singer bobbins off my 221K and 201K

Why do they go rusty?

If cotton is left on them, it attracts moisture which then rusts the bobbin.  I used to be a lace maker, lacemaking uses 100% cotton fine threads.  They dry out on the pillow which causes them to snap (especially when you leave them on the back parcel shelf of your mini when taking your lace on holiday with you, doh), the cure was to leave a damp cloth over  the pillow and threads to put moisture back into the thread to prevent snapping.

So the dilemma  is to remove all the thread when you finish your project or leave it on the bobbin?  Its not going to rust that quickly so no real need to remove the thread (I hate wasting thread) BUT if you buy/have old bobbins that haven't been used for donkey's years with thread on, remove it.  Its surprising just how many different threads can be on one bobbin.  On the really old ones, the thread is sometime rusted in, you can use a blade to cut the thread but mind your fingers.

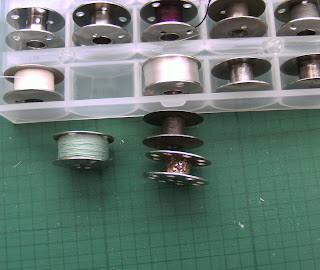
This is what you might find.


Easy fix, I used a small file that I found in an old attachment box, its ideal to file away the rust.


 The point is good for pushing a bit of wire wool to get into the fiddly bits.


Wind the wire wool around the bobbin then twist the ends tight.  Twizzle the wool around the bobbin for a final polish.  Then give it a good clean with a cloth, I used a bit of off-cut of wadding.


It doesn't take long to get rid of the rust, it will stay away as long as you don't leave thread on for too long.  My instinct is to put a bit of oil on it like you do where you have removed rust from any other part of the machine but this will mark the thread so best not to do it.


All clean and tidy, tucked up in a modern box.


Tootle pip
Sharon